
Looking for Automatic Chicken Waterer Parts List?

There are only 3 parts. The female thread to slip fitting, the short piece of pipe, and the Tee.
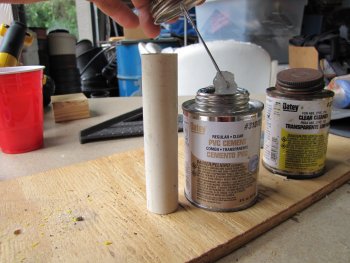
Glue all the parts together. Make sure it is solid, because there will be pressure on it in the future.
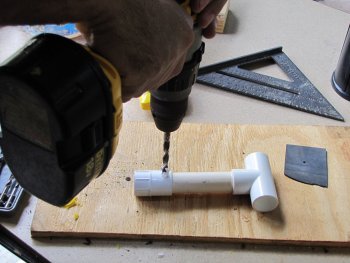
Drill the holes. These holes can be variable in size. They should be small enough to fit in the pipe and large enough so they don’t get clogged if trash gets in the lines. Holes should be drilled just above the threads.
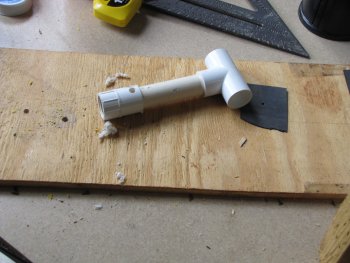
Holes look good. It is time to install.
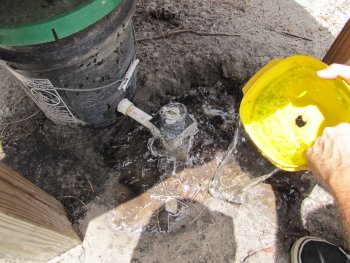
Turn off the water. Always install control for the water close.
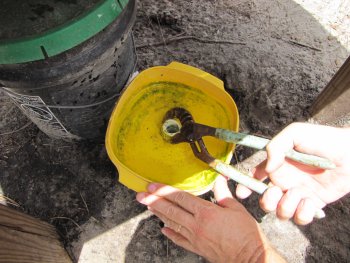
Remove the fitting that is holding the cup on now. As you can see, it is hard to get off and needs a tool. Not good.
Go ahead and clean the cup while it is off. It might be a good idea to put some teflon tape on the threads, just to keep it “by the book”.
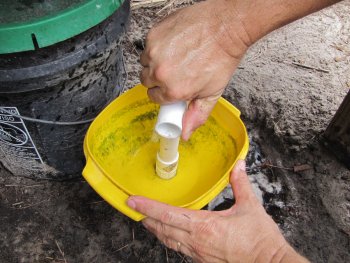
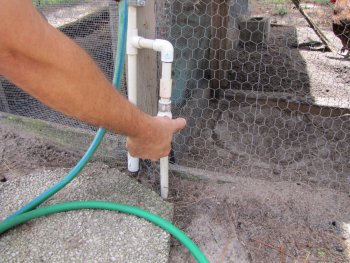
Put on the new T-handle. It should go on pretty easy.
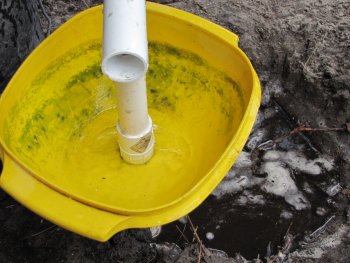
Turn on the water. The water should be coming out of the holes we drilled.
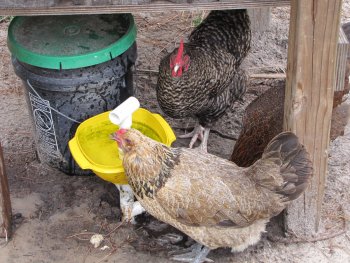
Now this is the most important part, that is does not interfere with the chickens drinking the water. It will now be a little easier to clean out the cup.