
In the last segment we measured the fill valve float to get our height. This measurement can change depending on where you have the fill valve set to. If you have smaller birds you may want it lower than higher. Larger birds would be higher. There is also a “too high”, because then they cannot comfortably reach it.
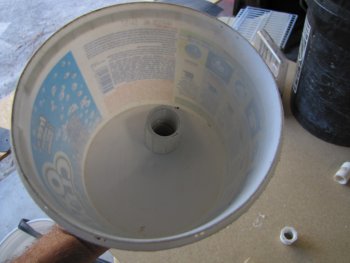
Measure and make a mark on the bucket where the center of the float is going to be. This is the control line.
This line represents the top of the water, no matter what container you are using for a cup. Water is the ultimate leveling system. This is where you can see exactly how high you want your watering cup to sit. You can adjust it somewhat in the field, by digging into the ground, or setting it up on bricks or wood.
Be careful, the plastic can tear or break. This was the first cup I tried. I like to recycle anything that has another purpose. Also, the design allows to switch this part out and “use” another one, or a better one. This container was good, until it filled with water. It proved to be too flimsy and tipped over. The cup is better when it is not as wide, but tall enough.
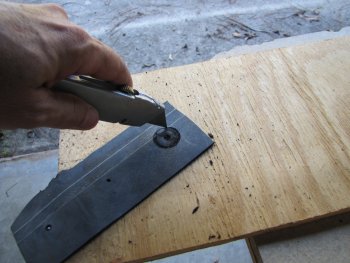
Cut out a few gaskets. I was going to double these up, but there is no need. One layer will do. I am using a piece of a pond liner. I used my paddle bit to mark a hole, then cut with a razor knife. The size after that can vary, but just a 3″ x 3″ square is fine.
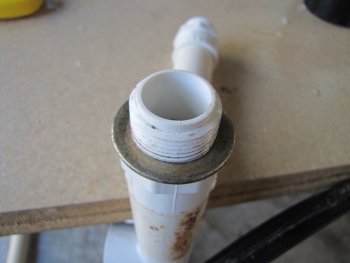
Put a bushing over the threads going into the bucket or the cup. The plastic is so thin, the fitting on the other side has to seat all the way down, and they just don’t go down that far. There is not a lot of pressure so it just has to press against it.
The fitting on the inside of the container is a female thread fitting that is also pvc. A brass fitting would work also. The connection to the bucket reservior is a more permanent seal. The seal on the cup is temporary, because it remains “servicable” or even “replacable”.
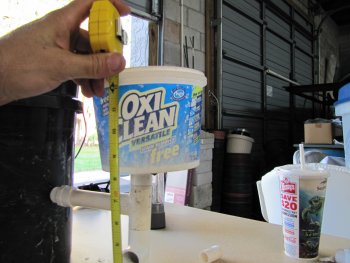
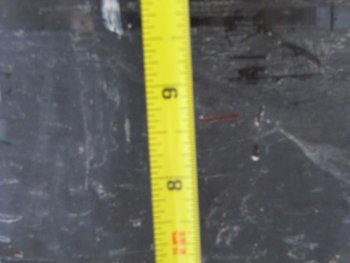
Next we have to line up the cup system and see where it falls in with the control line. You can see the 12″ mark at the top of the cup. The 8 1/2″ mark is the bottom of the cup. This won’t even let water come in over our seal fitting. We are going to have to lower the cup system.
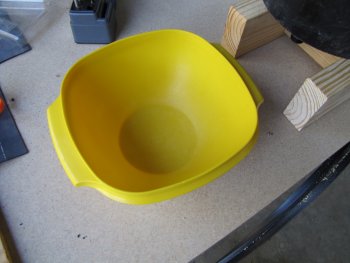
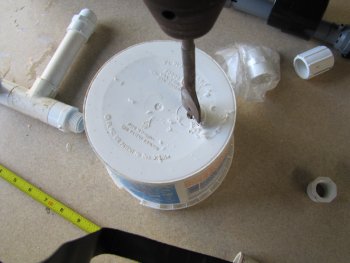
Now that we are on the cup, after I water tested the new Automatic Chicken Watering system, I found the OxyClean container just fell over. I know part of it was that I did not center the hole, but it really just fell over. So I hunted for a new container, and I came up with this tupperware bowl. It was the correct size, height, and strength. The tupperware bowl has not been used in a while (so we could part with it) and is very strong. When I drilled the hole it wanted to break up a little (it is probably 20 years old or more), but did fine as far as the size, so the seal worked out fine.
On to the next round!!!!
Next article for Putting it All Together